Denture framework welding happens after the casting, before the resin
the joint
resin not on yet
resin already on the part
everything already done to this part
The framework is cast, ground and fitted. Then a clasp arm goes — or the case comes back off the model refusing to seat. Everything already done to that part is still sitting in it, and what happens to it next is decided at that bench.
By the time a joint is made, the part already carries the casting, the grinding and the fit. Welding is the one operation on the bench that can put a clasp arm back without asking for any of that work again — and the one operation whose position in the sequence decides whether it is possible at all.
Send one real part for a free weld testThe three parts that reach this bench, and where each one gives way
Partial denture frameworks and clasp arms, implant bars, orthodontic attachments and retainer wire — dental framework welding covers three different jobs, and they fail in three different places.
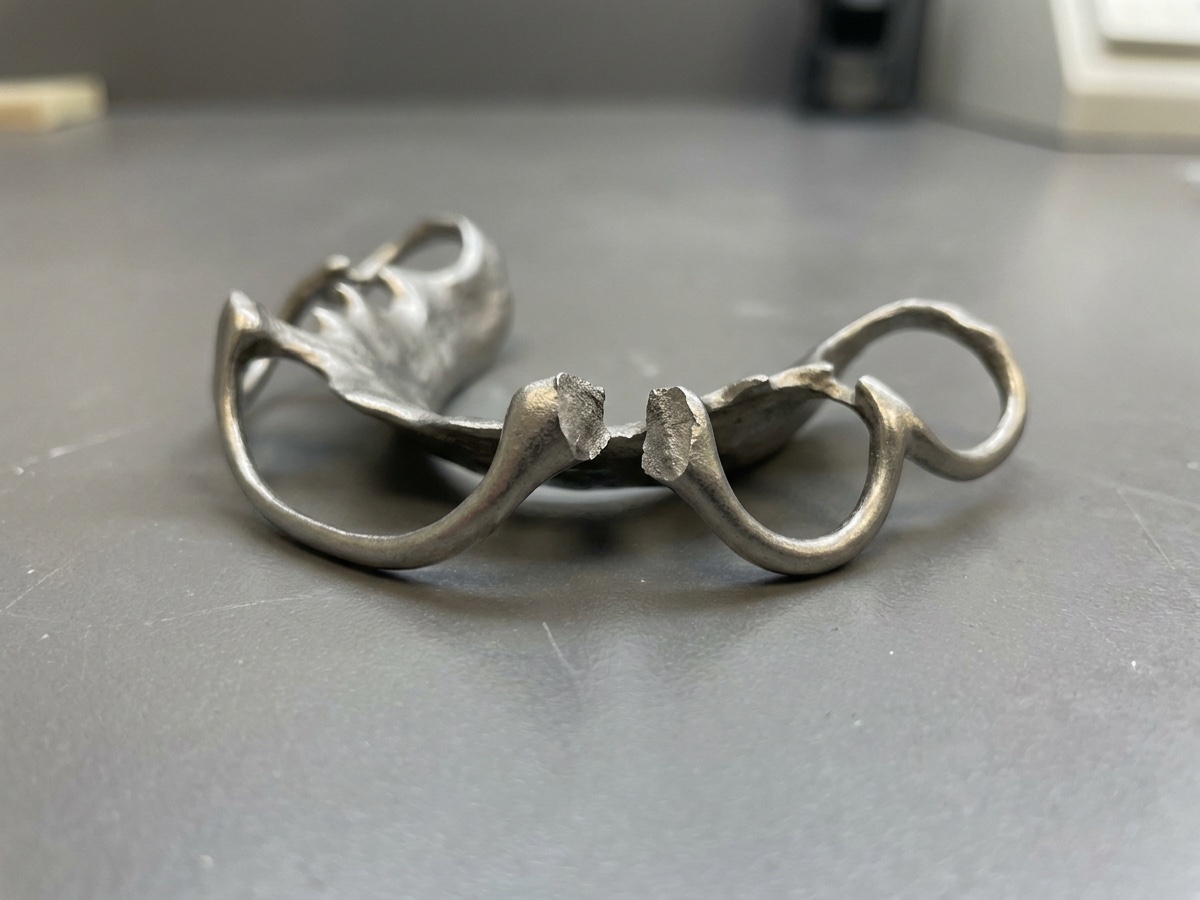
Partial denture frameworks and clasp arms. The arm is the thinnest section on the part and it works every single time the appliance goes in or comes out. It gives way at the arm itself, or at the junction where the arm leaves the major connector. Sometimes nothing visibly breaks at all — the framework simply stops seating the way it did on the model, which is the same problem arriving quietly.
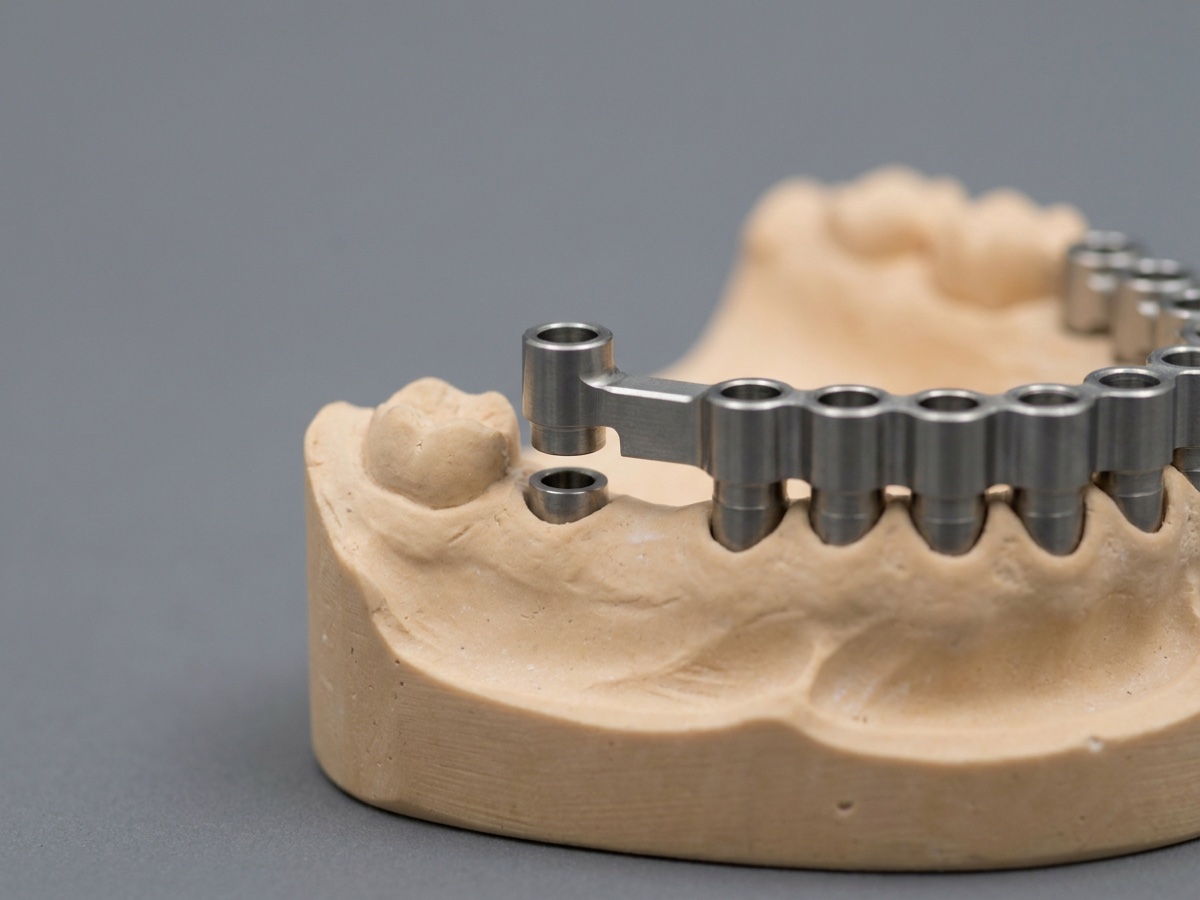
Implant bars. A bar spanning several implants fails on a different axis. What goes wrong is distortion and seating, not penetration: the weld itself can look right under the scope, and the bar still comes back to the model with one end lifted and a screw that will not go home. Nothing about the joint face tells you that in advance.
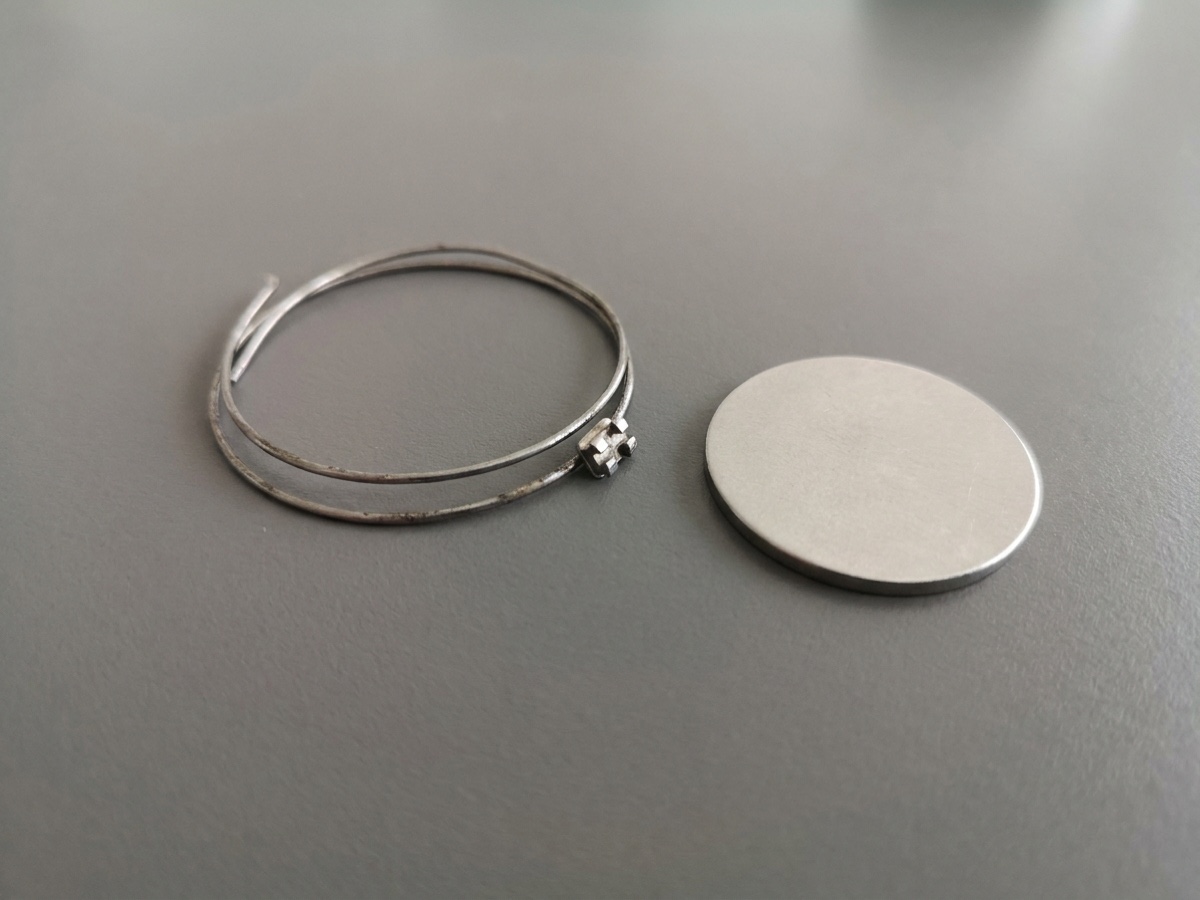
Orthodontic attachments and retainer wire. Small diameter, and almost no length of metal for the heat to escape into. The usable parameter window on wire is narrower than on anything cast, which is why wire work is where labs burn parts learning.
Materials we weld as routine: cobalt-chrome, titanium, stainless, precious metals.
A dental case only travels one way
Nothing on this bench can be taken back. Every operation is carried out on a part that already carries all of the ones before it — and near the end, the road forks.
Where denture framework welding sits in the lab's own sequence
Casting, grinding and fitting, welding, blasting and polishing, resin base or veneering, delivery — the joint is made in the third cell, and the cell it is made in decides most of what follows.
Casting
Grinding and fitting
Welding
Blasting and polishing
Resin base or veneering
Delivery
- Casting — the part exists.
- Grinding and fitting — the part becomes this case, not any case.
- Welding — the joint is made here. Joints on framework work are almost always made after casting: by this cell the part has already absorbed the two before it, which is exactly why putting a joint back is a different proposition from starting again.
- Blasting and polishing — the joint is dressed with the rest of the surface.
- Resin base or veneering — from this cell onward there is something on the part that heat reaches before the metal does.
- Delivery — the case leaves.
Anchored at the front of the chain: joints are made after casting, not instead of it. That is the whole economic shape of this work — the joint is a step, the re-cast is a return to cell one.
Anchored at the back of the chain, at the fork: weld the attachment before the resin goes on. It is not a preference. Resin and acrylic give way long before the metal notices anything is happening — the base whitens, blisters, and lets go of the metal attachment while the metal itself is still untroubled. Once resin is on the part, the same joint is no longer the same job, which is why this board is about sequence rather than about settings.
There is a second reason to make this a cell in the chain rather than a feel in one technician's hands. The feel lives in the person. When that person retires or leaves, this class of repair leaves with him — and a step in a sequence can be handed over in a way that a pair of hands cannot.
Weld the clasp arm, or re-cast the framework
What makes a break worth welding, and what tells us to stop — read off the fracture face, not off the case history.
Fracture face at high magnification · clean
PART PHOTO PENDINGClean fracture face
Fracture face at high magnification · fatigue
PART PHOTO PENDINGFatigue fracture face
The break is worth welding when:
- The fracture cross-section is intact — two faces that still fit each other.
- The seating relationship has not changed; the framework still goes where it went.
- The break is not sitting on a casting defect.
We will tell you to re-cast when:
- The same spot has already been welded more than twice.
- The fracture face reads as fatigue: several small cracks rather than one clean face, or a darkened surface.
- The major bar or a saddle has deformed and the seating relationship has already moved.
- The break sits on porosity or an inclusion — it will hold, and then crack again right beside where it held.
Which of those four your part shows is something read off the metal under magnification, and a description of the break has never once been enough to decide it — send the part and we will tell you which one it is.
A re-cast costs more than the joint ever did. That is the reason those four are worth reading properly — not a reason to weld something that should be re-cast.
The dental work that starts with a sample weld
Alloy combination, bars that arrive without a reference, and fine wire — for these three, a test piece is the way in, not a way out.
The combination, before the joint. Dental joints we weld directly are same-metal joints: cobalt-chrome to cobalt-chrome, titanium to titanium, stainless to stainless, precious metal to the same precious metal. Dissimilar-metal combinations sit with the limits we publish, together with the mechanical-connection and transition-layer routes we point to instead. When the combination on your part is one we need to look at rather than answer from a table, we look at it on a sample. An alloy answer that arrives before the metal does is a guess.
Bars that arrive without a reference. Long parts are welded in segments and symmetrically — the ends are located first, the middle is filled afterwards, and there is no continuous long bead anywhere on the part. All of that depends on something to reposition against: a model, or a jig. When a bar reaches us with no original locating reference, it goes to per-part evaluation and we do not put a result on it in advance. The sample weld is how a bar without a reference gets an answer at all.
Fine wire. Retainer wire and orthodontic attachments have a parameter window narrower than any casting, for the reason in the board above: little diameter, little metal for the heat to leave through. We do not hand out general settings for wire, and we do not promise a first-time result on it. We find the window on a piece of your wire, and then it is your window rather than a range copied off a sheet.
For these three, the sample weld is the front door: the step the job properly starts at, and the point where an answer starts being about your metal rather than about metal in general.
Three questions that a part answers and a description does not
Will it weld my alloy? Is this break worth welding? Which machine does this work land on?
Every one of those three is read off the metal — which is why the next step on this page is a part in the post rather than a specification to compare.
Send a part for a free weld testWhich machine denture framework work lands on
Denture framework welding spans two rows of our selection table, and most labs are on both of them.
Clasp arms, frameworks, and attachments sitting next to resin.
This is thin-walled, heat-sensitive work where low heat input and line cadence decide the outcome → QCW. Peak power is high and the pulse can be pushed down to 0.2 ms, which is what keeps the heat where you put it.
Orthodontic fine wire and small, precisely placed joints.
Fine tack welding, small spot → EU Style. Spot 0.1–2.0 mm, pulse width 0.1–5.0 ms.
Most labs do both kinds of work, which is exactly why the honest answer here is two rows rather than one machine. Which of them your own mix actually sits on is settled on a test piece — put a real part in front of it and the choice makes itself.
What to tell us before the part goes in the post
Three things that decide whether we can take a part, and how we hold it once we do.
If the part is already finished, plan a rebase rather than a rescue. A polished case with its base on is not a part waiting for a repair; it is a part that will need rebasing around whatever we do. Scheduling it that way is the version that holds up. Scheduling it as a rescue is how a finished case ends up worse than it arrived.
If there is resin anywhere on the part, say so when you send it. Written down, with the part — not left to be noticed on arrival. It changes whether we take the part at all, and it changes what we do with it if we do.
What you tell us decides how we clamp it. Where the part can be gripped, what has to be shielded from the heat, and where the shielding gas still has to reach are all worked out before anything is switched on. Every one of those is decided from what came with the part, which is why an unmentioned base is not a small omission.
Framework · bare metal, no resin anywhere
PART PHOTO PENDINGBare metal
Framework · resin present on part of it
PART PHOTO PENDINGResin present
Framework · finished, polished, delivered condition
PART PHOTO PENDINGFinished case
Put one real part in an engineer's hands
One or two parts is all it takes to turn every open question on this page into an answer about your metal.
Whether the alloy welds, whether this particular break is worth welding, and which machine this work lands on are three answers that arrive together the moment an engineer has the part — and separately never, no matter how carefully any of it is described.
Something that is neither a quote nor a sample weld? Contact us.